Overview
The purpose of the Vanilla template is for developing new engine when you find other engine templates do not fit your needs. This template provides a skeleton to kick start new engine development.
By default, it simply reads the "EVENT" involving "ENTITY_TYPE" and "TARGET_ENTITY_TYPE". The Algorithm counts the number of events and multiple it by the algorithm parameter and store it as Model. During serving, the Query is prefixed with the Model and return as PredictedResult.
Usage
Event Data Requirements
No special event requirement
Input Query
- a string
Output PredictedResult
- a string
1. Install and Run PredictionIO
First you need to install PredictionIO 0.14.0 (if you haven't done it).
Let's say you have installed PredictionIO at /home/yourname/PredictionIO/. For convenience, add PredictionIO's binary command path to your PATH, i.e. /home/yourname/PredictionIO/bin:
1 | $ PATH=$PATH:/home/yourname/PredictionIO/bin; export PATH |
Once you have completed the installation process, please make sure all the components (PredictionIO Event Server, Elasticsearch, and HBase) are up and running.
If you are using PostgreSQL or MySQL, run the following to start PredictionIO Event Server:
1 | $ pio eventserver &
|
If instead you are running HBase and Elasticsearch, run the following to start all PredictionIO Event Server, HBase, and Elasticsearch:
1 | $ pio-start-all
|
You can check the status by running:
1 | $ pio status
|
If everything is OK, you should see the following outputs:
1 2 3 4 | ... (sleeping 5 seconds for all messages to show up...) Your system is all ready to go. |
2. Create a new Engine from an Engine Template
Now let's create a new engine called MyNewEngine by downloading the Vanilla Engine Template. Go to a directory where you want to put your engine and run the following:
1 2 | $ git clone https://github.com/apache/predictionio-template-skeleton.git MyNewEngine $ cd MyNewEngine |
A new directory MyNewEngine is created, where you can find the downloaded engine template.
3. Generate an App ID and Access Key
You will need to create a new App in PredictionIO to store all the data of your app. The data collected will be used for machine learning modeling.
Let's assume you want to use this engine in an application named "MyApp1". Run the following to create a new app "MyApp1":
1 | $ pio app new MyApp1
|
You should find the following in the console output:
1 2 3 4 5 6 | ... [INFO] [App$] Initialized Event Store for this app ID: 1. [INFO] [App$] Created new app: [INFO] [App$] Name: MyApp1 [INFO] [App$] ID: 1 [INFO] [App$] Access Key: 3mZWDzci2D5YsqAnqNnXH9SB6Rg3dsTBs8iHkK6X2i54IQsIZI1eEeQQyMfs7b3F |
Note that App ID, **Access Key* are created for this App "MyApp1". You will need the Access Key when you collect data with EventServer for this App.
You can list all of the apps created its corresponding ID and Access Key by running the following command:
1 | $ pio app list
|
You should see a list of apps created. For example:
1 2 3 4 | [INFO] [App$] Name | ID | Access Key | Allowed Event(s) [INFO] [App$] MyApp1 | 1 | 3mZWDzci2D5YsqAnqNnXH9SB6Rg3dsTBs8iHkK6X2i54IQsIZI1eEeQQyMfs7b3F | (all) [INFO] [App$] MyApp2 | 2 | io5lz6Eg4m3Xe4JZTBFE13GMAf1dhFl6ZteuJfrO84XpdOz9wRCrDU44EUaYuXq5 | (all) [INFO] [App$] Finished listing 2 app(s). |
4a. Collecting Data
As long as the appId is valid, this Vanilla Engine template does not require event data in your app in order to work.
4b. Import Sample Data
As long as the appId is valid, this Vanilla Engine template does not require event data in your app in order to work.
5. Deploy the Engine as a Service
Now you can build, train, and deploy the engine. First, make sure you are under the MyNewEngine directory.
1 | $ cd MyNewEngine |
Engine.json
Under the directory, you should find an engine.json file; this is where you specify parameters for the engine.
1 2 3 4 5 6 7 | ... "datasource": { "params" : { "appName": "MyApp1" } }, ... |
Building
Start with building your MyNewEngine engine. Run the following command:
1 | $ pio build --verbose
|
This command should take few minutes for the first time; all subsequent builds should be less than a minute. You can also run it without --verbose if you don't want to see all the log messages.
Upon successful build, you should see a console message similar to the following.
1 | [INFO] [Console$] Your engine is ready for training. |
Training the Predictive Model
To train your engine, run the following command:
1 | $ pio train
|
When your engine is trained successfully, you should see a console message similar to the following.
1 | [INFO] [CoreWorkflow$] Training completed successfully. |
Deploying the Engine
Now your engine is ready to deploy. Run:
1 | $ pio deploy
|
When the engine is deployed successfully and running, you should see a console message similar to the following:
1 2 | [INFO] [HttpListener] Bound to /0.0.0.0:8000 [INFO] [MasterActor] Bind successful. Ready to serve. |
Do not kill the deployed engine process.
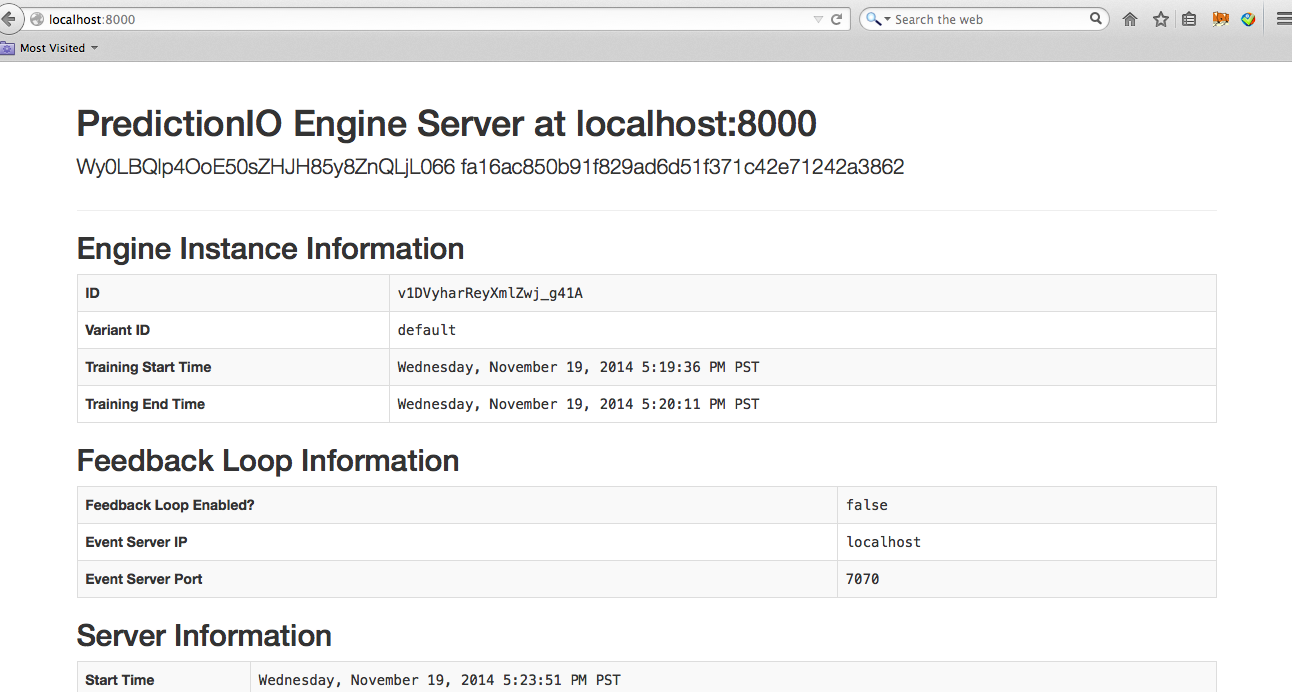
By default, the deployed engine binds to http://localhost:8000. You can visit that page in your web browser to check its status.
6. Use the Engine
Now, You can try to retrieve predicted results. The engine accepts JSON query with the field 'q': { "q" : "foo" }. A prefix is added to the query data and return as PredictedResult.
With the deployed engine running, open another terminal and run the following curl command or use SDK to send the query:
1 2 3 | $ curl -H "Content-Type: application/json" \ -d '{ "q": "foo" }' http://localhost:8000/queries.json |
1 2 3 | import predictionio engine_client = predictionio.EngineClient(url="http://localhost:8000") print engine_client.send_query({ "q": "foo" }) |
1 2 3 4 5 6 7 8 9 10 | <?php require_once("vendor/autoload.php"); use predictionio\EngineClient; $client = new EngineClient('http://localhost:8000'); $response = $client->sendQuery(array('q'=> "foo")); print_r($response); ?> |
1 2 3 4 5 6 7 | # Create client object. client = PredictionIO::EngineClient.new(<ENGINE DEPLOY URL>) # Query PredictionIO. response = client.send_query('q' => 'foo') puts response |
1 2 3 4 5 6 7 8 9 10 11 12 | import com.google.common.collect.ImmutableMap; import com.google.gson.JsonObject; import org.apache.predictionio.EngineClient; // create client object EngineClient engineClient = new EngineClient(<ENGINE DEPLOY URL>); // query JsonObject response = engineClient.sendQuery(ImmutableMap.<String, Object>of( "q", "foo" )); |
The following is sample JSON response:
1 | {"p":"0-foo"} |
MyNewEngine is now running. You can start modifying it to build your new engine!