Overview
This engine template recommends the complementary items which most user frequently buy at the same time together with one or more items in the query.
Usage
Event Data Requirements
By default, the template requires the following events to be collected:
- user 'buy' item events
Input Query
- set of items
- num of recommends items per condition
Output PredictedResult
- array of condition and top n recommended items given the condition. The engine will use each combination of the query items as condition.
1. Install and Run PredictionIO
First you need to install PredictionIO 0.14.0 (if you haven't done it).
Let's say you have installed PredictionIO at /home/yourname/PredictionIO/. For convenience, add PredictionIO's binary command path to your PATH, i.e. /home/yourname/PredictionIO/bin:
1 | $ PATH=$PATH:/home/yourname/PredictionIO/bin; export PATH |
Once you have completed the installation process, please make sure all the components (PredictionIO Event Server, Elasticsearch, and HBase) are up and running.
If you are using PostgreSQL or MySQL, run the following to start PredictionIO Event Server:
1 | $ pio eventserver &
|
If instead you are running HBase and Elasticsearch, run the following to start all PredictionIO Event Server, HBase, and Elasticsearch:
1 | $ pio-start-all
|
You can check the status by running:
1 | $ pio status
|
If everything is OK, you should see the following outputs:
1 2 3 4 | ... (sleeping 5 seconds for all messages to show up...) Your system is all ready to go. |
2. Create a new Engine from an Engine Template
Now let's create a new engine called MyComplementaryPurchase by downloading the Complementary Purchase Engine Template. Go to a directory where you want to put your engine and run the following:
1 2 | $ git clone https://github.com/PredictionIO/template-scala-parallel-complementarypurchase.git MyComplementaryPurchase $ cd MyComplementaryPurchase |
A new directory MyComplementaryPurchase is created, where you can find the downloaded engine template.
3. Generate an App ID and Access Key
You will need to create a new App in PredictionIO to store all the data of your app. The data collected will be used for machine learning modeling.
Let's assume you want to use this engine in an application named "MyApp1". Run the following to create a new app "MyApp1":
1 | $ pio app new MyApp1
|
You should find the following in the console output:
1 2 3 4 5 6 | ... [INFO] [App$] Initialized Event Store for this app ID: 1. [INFO] [App$] Created new app: [INFO] [App$] Name: MyApp1 [INFO] [App$] ID: 1 [INFO] [App$] Access Key: 3mZWDzci2D5YsqAnqNnXH9SB6Rg3dsTBs8iHkK6X2i54IQsIZI1eEeQQyMfs7b3F |
Note that App ID, **Access Key* are created for this App "MyApp1". You will need the Access Key when you collect data with EventServer for this App.
You can list all of the apps created its corresponding ID and Access Key by running the following command:
1 | $ pio app list
|
You should see a list of apps created. For example:
1 2 3 4 | [INFO] [App$] Name | ID | Access Key | Allowed Event(s) [INFO] [App$] MyApp1 | 1 | 3mZWDzci2D5YsqAnqNnXH9SB6Rg3dsTBs8iHkK6X2i54IQsIZI1eEeQQyMfs7b3F | (all) [INFO] [App$] MyApp2 | 2 | io5lz6Eg4m3Xe4JZTBFE13GMAf1dhFl6ZteuJfrO84XpdOz9wRCrDU44EUaYuXq5 | (all) [INFO] [App$] Finished listing 2 app(s). |
4. Collecting Data
Next, let's collect training data for this Engine. By default, Complementary Purchase Engine Template supports the following entities: user, item. A user buys an item. This template requires user-buy-item events.
Note that the engine requires correct buy event time being used in order to determine if the items being bought are in the same 'basket', which is configured by the 'basketWindow' parameter. Using an unreal event time for the buy events will cause an incorrect model. If you use SDK, the current time is used as event time by default.
You can send these events to PredictionIO Event Server in real-time easily by making a HTTP request or through the provided SDK. Please see App Integration Overview for more details how to integrate your app with SDK.
Let's try sending events to EventServer with the following curl commands (The corresponding SDK code is showed in other tabs).
Replace <ACCCESS_KEY> by the Access Key generated in above steps. Note that localhost:7070 is the default URL of the Event Server.
For convenience, set your access key to the shell variable, run:
$ ACCESS_KEY=<ACCESS_KEY>
When an user u0 buys item i0 on time 2014-11-02T09:39:45.618-08:00 (current time will be used if eventTime is not specified), you can send a buy event. Run the following curl command:
1 2 3 4 5 6 7 8 9 10 | $ curl -i -X POST http://localhost:7070/events.json?accessKey=$ACCESS_KEY \ -H "Content-Type: application/json" \ -d '{ "event" : "buy", "entityType" : "user", "entityId" : "u0", "targetEntityType" : "item", "targetEntityId" : "i0", "eventTime" : "2014-11-02T09:39:45.618-08:00" }' |
1 2 3 4 5 6 7 8 9 10 11 12 13 14 15 16 17 18 19 20 21 22 23 24 25 26 27 | import predictionio client = predictionio.EventClient( access_key=<ACCESS KEY>, url=<URL OF EVENTSERVER>, threads=5, qsize=500 ) # A user buys an item (use current time as event time) client.create_event( event="buy", entity_type="user", entity_id=<USER ID>, target_entity_type="item", target_entity_id=<ITEM ID> ) # A user buys an item (explicitly specify event time) client.create_event( event="buy", entity_type="user", entity_id=<USER ID>, target_entity_type="item", target_entity_id=<ITEM ID>, event_time=<EVENT_TIME> ) |
1 2 3 4 5 6 7 8 9 10 11 12 13 14 15 16 17 18 19 20 21 22 23 24 25 26 | <?php require_once("vendor/autoload.php"); use predictionio\EventClient; $client = new EventClient(<ACCESS KEY>, <URL OF EVENTSERVER>); // A user buys an item (use current time as event time) $client->createEvent(array( 'event' => 'buy', 'entityType' => 'user', 'entityId' => <USER ID>, 'targetEntityType' => 'item', 'targetEntityId' => <ITEM ID> )); // A user buys an item (explicitly specify event time) $client->createEvent(array( 'event' => 'buy', 'entityType' => 'user', 'entityId' => <USER ID>, 'targetEntityType' => 'item', 'targetEntityId' => <ITEM ID>, 'eventTime' => <EVENT_TIME> )); ?> |
1 2 3 4 5 6 7 8 9 10 11 12 13 14 15 16 17 18 19 20 21 22 23 | # Create a client object. client = PredictionIO::EventClient.new(<ACCESS KEY>, <URL OF EVENTSERVER>) # A user buys an item (use current time as event time) client.create_event( 'buy', 'user', <USER ID>, { 'targetEntityType' => 'item', 'targetEntityId' => <ITEM ID> } ) # A user buys an item (explicitly specify event time) client.create_event( 'buy', 'user', <USER ID>, { 'targetEntityType' => 'item', 'targetEntityId' => <ITEM ID>, 'eventTime' => <EVENT_TIME> } ) |
1 2 3 4 5 6 7 8 9 10 11 12 13 14 15 16 17 18 19 20 21 22 23 24 25 | import org.apache.predictionio.Event; import org.apache.predictionio.EventClient; import com.google.common.collect.ImmutableList; EventClient client = new EventClient(<ACCESS KEY>, <URL OF EVENTSERVER>); // A user buys an item (use current time as event time) Event buyEvent = new Event() .event("buy") .entityType("user") .entityId(<USER_ID>) .targetEntityType("item") .targetEntityId(<ITEM_ID>) client.createEvent(buyEvent); // A user buys an item (explicitly specify event time) Event buyEvent = new Event() .event("buy") .entityType("user") .entityId(<USER_ID>) .targetEntityType("item") .targetEntityId(<ITEM_ID>) .eventTime(<EVENT_TIME>) client.createEvent(buyEvent); |
Query Event Server
Now let's query the EventServer and see if these events are imported successfully.
Go to following URL with your browser:
http://localhost:7070/events.json?accessKey=<YOUR_ACCESS_KEY>
or run the following command in terminal:
1 | $ curl -i -X GET "http://localhost:7070/events.json?accessKey=$ACCESS_KEY" |
It should return the imported events in JSON format. You can refer to Event Server Debugging Recipes for more different ways to query Event Server.
Import More Sample Data
This engine requires more data in order to train a useful model. Instead of sending more events one by one in real time, for quickstart demonstration purpose, we are going to use a script to import more events in batch.
A Python import script import_eventserver.py is provided to import sample data. The script generates some frequent item sets (prefix with "s"), some other random items (prefix with "i") and a few popular items (prefix with "p"). Then each user (with user ID "u1" to "u10") performs 5 buy transactions (buy events are within 10 seconds in each transaction). In each transaction, the user may or may not buy some random items, always buy one of the popular items and buy 2 or more items in one of the frequent item sets.
First, you will need to install Python SDK in order to run the sample data import script. To install Python SDK, run:
1 | $ pip install predictionio
|
or
1 | $ easy_install predictionio
|
Make sure you are under the MyComplementaryPurchase directory. Execute the following to import the data:
1 2 | $ cd MyComplementaryPurchase $ python data/import_eventserver.py --access_key $ACCESS_KEY |
You should see the following output:
1 2 3 4 5 6 7 | ... User u10 buys item i20 at 2014-10-19 15:42:35.618000-07:53 User u10 buys item i5 at 2014-10-19 15:42:45.618000-07:53 User u10 buys item p3 at 2014-10-19 15:42:55.618000-07:53 User u10 buys item s2i3 at 2014-10-19 15:43:05.618000-07:53 User u10 buys item s2i1 at 2014-10-19 15:43:15.618000-07:53 225 events are imported. |
You can query the event server again as described previously to check the imported events.
5. Deploy the Engine as a Service
Now you can build, train, and deploy the engine. First, make sure you are under the MyComplementaryPurchase directory.
1 | $ cd MyComplementaryPurchase |
Engine.json
Under the directory, you should find an engine.json file; this is where you specify parameters for the engine.
1 2 3 4 5 6 7 | ... "datasource": { "params" : { "appName": "MyApp1" } }, ... |
Building
Start with building your MyComplementaryPurchase engine. Run the following command:
1 | $ pio build --verbose
|
This command should take few minutes for the first time; all subsequent builds should be less than a minute. You can also run it without --verbose if you don't want to see all the log messages.
Upon successful build, you should see a console message similar to the following.
1 | [INFO] [Console$] Your engine is ready for training. |
Training the Predictive Model
To train your engine, run the following command:
1 | $ pio train
|
When your engine is trained successfully, you should see a console message similar to the following.
1 | [INFO] [CoreWorkflow$] Training completed successfully. |
Deploying the Engine
Now your engine is ready to deploy. Run:
1 | $ pio deploy
|
When the engine is deployed successfully and running, you should see a console message similar to the following:
1 2 | [INFO] [HttpListener] Bound to /0.0.0.0:8000 [INFO] [MasterActor] Bind successful. Ready to serve. |
Do not kill the deployed engine process.
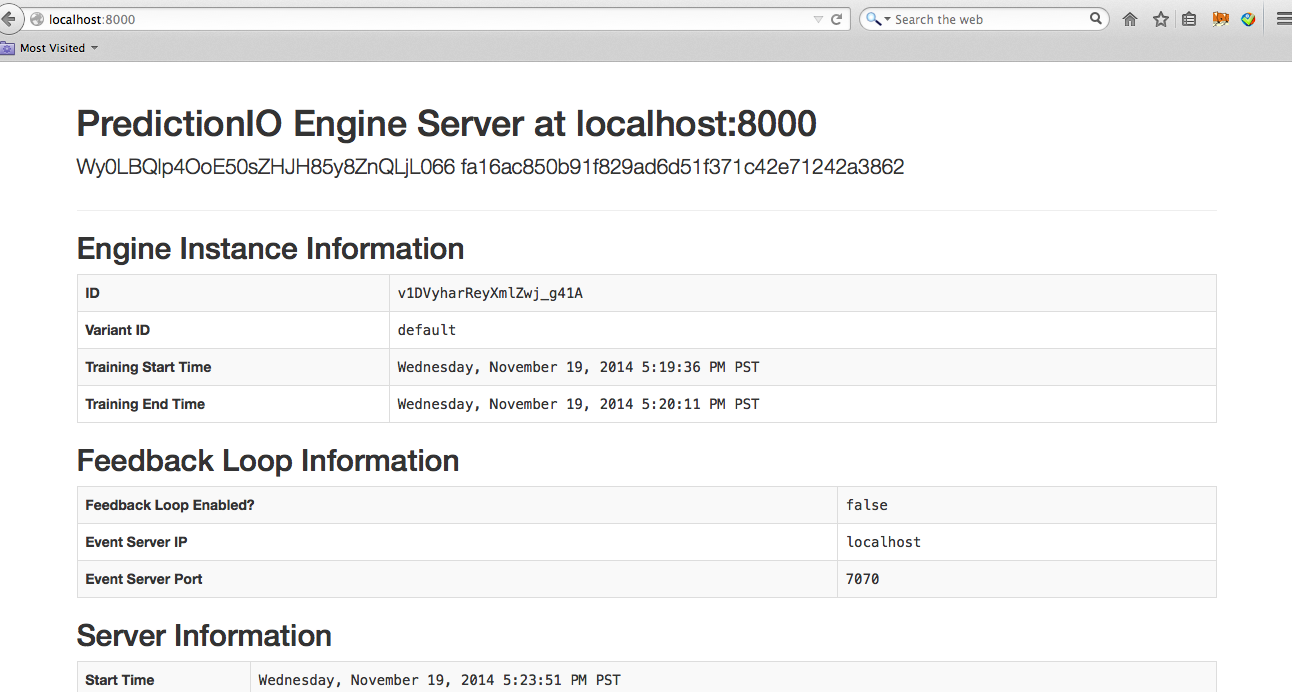
By default, the deployed engine binds to http://localhost:8000. You can visit that page in your web browser to check its status.
6. Use the Engine
Now, You can query the engine. For example, return top 3 items which are frequently bought with item "s2i1". You can sending this JSON '{ "items" : ["s2i1"], "num" : 3 }' to the deployed engine. The engine will return a JSON with the recommended items.
If you include one or more items in the query, the engine will use each combination of the query items as condition, and return recommended items if there is any for this condition. For example, if you query items are ["A", "B"], then the engine will use ["A"], ["B"], and ["A", "B"] as condition and try to find top n recommended items for each combination.
You can simply send a query by making a HTTP request or through the EngineClient of an SDK.
With the deployed engine running, open another terminal and run the following curl command or use SDK to send the query:
1 2 3 4 5 6 7 | $ curl -H "Content-Type: application/json" \ -d '{ "items" : ["s2i1"], "num" : 3 }' \ http://localhost:8000/queries.json |
1 2 3 4 5 6 | import predictionio engine_client = predictionio.EngineClient(url="http://localhost:8000") print engine_client.send_query({ "items" : ["s2i1"], "num" : 3 }) |
1 2 3 4 5 6 7 8 9 10 11 12 13 14 | <?php require_once("vendor/autoload.php"); use predictionio\EngineClient; $client = new EngineClient('http://localhost:8000'); $response = $client->sendQuery(array( 'items' => array('s2i1'), 'num' => 3 )); print_r($response); ?> |
1 2 3 4 5 6 7 8 9 10 | # Create client object. client = PredictionIO::EngineClient.new('http://localhost:8000') # Query PredictionIO. response = client.send_query( 'items' => ['s2i1'], 'num' => 3 ) puts response |
1 2 3 4 5 6 7 8 9 10 11 12 13 14 15 | import com.google.common.collect.ImmutableMap; import com.google.common.collect.ImmutableList; import com.google.gson.JsonObject; import org.apache.predictionio.EngineClient; // create client object EngineClient engineClient = new EngineClient("http://localhost:8000"); // query JsonObject response = engineClient.sendQuery(ImmutableMap.<String, Object>of( "items", ImmutableList.of("s2i1"), "num", 3 )); |
The following is sample JSON response. The cond field is one of the combination of query items used as condition to determine other frequently bought items with this condition, followed by top items. If there are multiple conditions with recommended items found, the rules array will contain multiple elements, and each correspond to the condition.
1 2 3 4 5 6 7 8 9 10 11 12 13 14 15 16 17 18 19 20 21 | { "rules":[ { "cond":["s2i1"], "itemScores":[ { "item":"s2i2", "support":0.2, "confidence":0.9090909090909091, "lift":3.787878787878788 }, { "item":"s2i3", "support":0.14, "confidence":0.6363636363636364, "lift":3.535353535353535 } ] } ] } |
MyComplementaryPurchase is now running.